
RAID Reinstallation (AMD)
Change your disk serials via AMD RAID mode. Highly recommended for AMD systems to completely scramble hard drive serial identifiers.
AMD RAID mode masks the underlying physical disk hardware serial numbers by presenting virtual RAID volumes (Array 1) to Windows, ensuring anti-cheats cannot read your real SSD hardware serials.
Driver Preparation#
Before starting, download the official AMD RAID drivers from your motherboard support page. You will need NVMe RAID drivers (rcraid, rcbottom, rccfg) copied onto your Windows installation USB flash drive.
BIOS Configuration for RAID
5 Clear Steps • Click checkmark as you complete
Restart PC and press DEL/F2 to enter BIOS.
Enable RAID mode under Advanced -> SATA/NVMe Configuration.
Enable RAIDXpert2 configuration utility in BIOS.
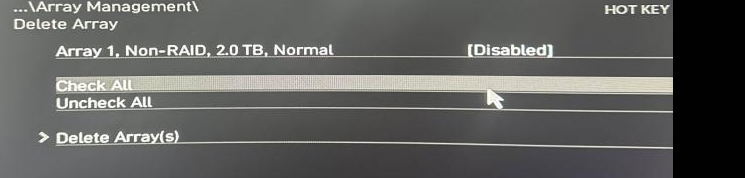
Delete existing arrays and create a new RAID 0 or Volume array containing your target SSD.
Save changes (F10) and reboot into your Windows USB installation media.
Loading RAID Drivers in Windows Setup
4 Clear Steps • Click checkmark as you complete
Boot into Windows Setup -> Custom Installation.
If no drive is visible, click "Load Driver" and browse to your USB drive where you saved the AMD RAID drivers.
Load rcbottom.inf first, then rcraid.inf, then rccfg.inf.
Your RAID virtual disk will appear as unallocated space. Select it and click Next to install Windows.